General
What is GenieX?
What is GenieX?
Which interface should I use?
Which interface should I use?
- Trying things out, scripting — CLI on Windows ARM64 or Linux ARM64.
- Building an app — Local server (OpenAI-compatible HTTP) or Python SDK.
- Mobile — Android SDK (Kotlin, Maven Central).
- Reproducible IoT deployment — Docker image on Linux ARM64 EVKs, pinned to a release tag.
Where do I see what hardware GenieX supports?
Where do I see what hardware GenieX supports?
Runtimes
What's the difference between llama.cpp and Qualcomm AI Engine Direct?
What's the difference between llama.cpp and Qualcomm AI Engine Direct?
- llama.cpp — runs any GGUF model, supports NPU/GPU/CPU compute units. Best for trying community models.
- Qualcomm® AI Engine Direct (
qairt) — runs pre-compiled Qualcomm AI Hub Models, NPU only. Typically the fastest path when your model is on Qualcomm AI Hub.
Which runtime is the default?
Which runtime is the default?
llama_cppdefaults tohybrid(HTP + CPU per-tensor scheduler — the fast path on Snapdragon).qairtdefaults tonpu.
gpt-oss falls back to npu on llama_cpp.Which precision (quantization) should I pick?
Which precision (quantization) should I pick?
Q4_0. It has the best Hexagon NPU support. Qualcomm AI Hub Models are pre-quantized — no choice. See Precisions (Quantizations) Supported.Models
Can I run any model from Hugging Face?
Can I run any model from Hugging Face?
How do I set a Hugging Face token for gated models?
How do I set a Hugging Face token for gated models?
- Windows:
$env:HF_TOKEN = "hf_..."(or$env:GENIEX_HFTOKEN = "hf_...") - Linux:
export HF_TOKEN="hf_..."(orexport GENIEX_HFTOKEN="hf_...")
huggingface-cli login to persist the token to ~/.cache/huggingface/token.Priority: GENIEX_HFTOKEN > HF_TOKEN > token file. Get your token at huggingface.co/settings/tokens. For full setup steps, see Set up a Hugging Face token.Where's the supported models list?
Where's the supported models list?
Chipsets & devices
Do I need a Snapdragon device?
Do I need a Snapdragon device?
My Qualcomm AI Hub Model says NPU is required — can I run it on CPU?
My Qualcomm AI Hub Model says NPU is required — can I run it on CPU?
cpu and gpu aliases are coerced to NPU with a warning. Use the llama.cpp runtime (with a GGUF) if you need CPU/GPU fallback.QDC (Qualcomm Device Cloud)
Do I need my own QDC device?
Do I need my own QDC device?
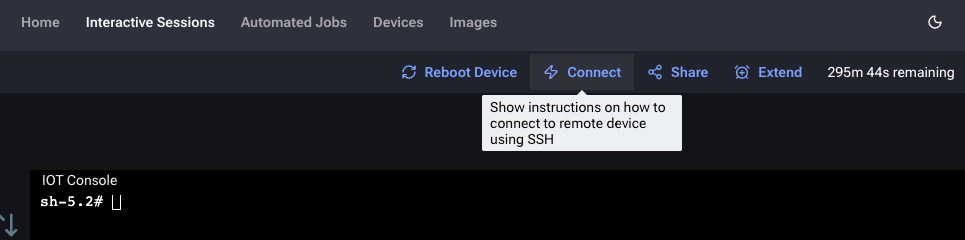
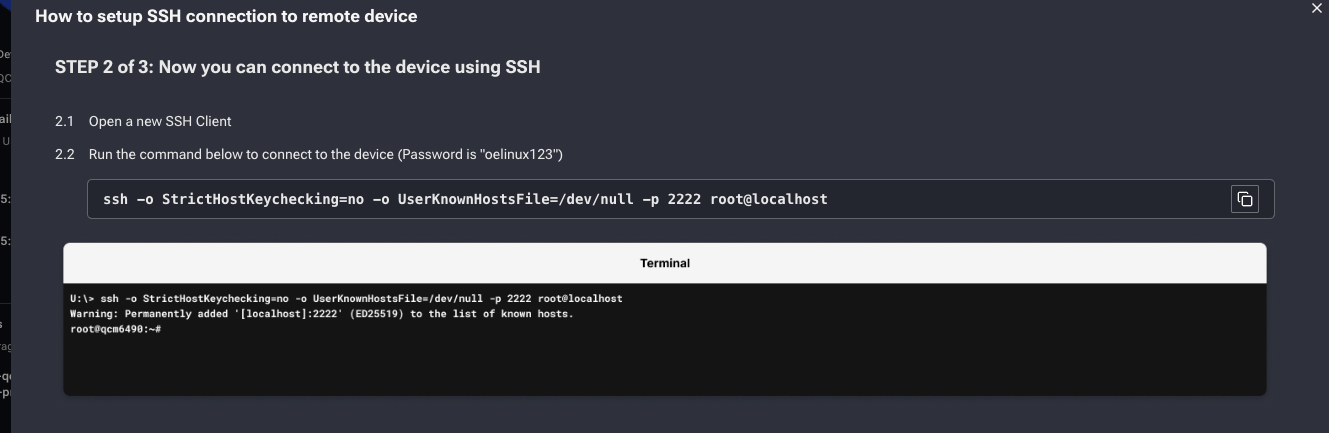
How do I connect to a QDC device over SSH?
How do I connect to a QDC device over SSH?
Setup SSH tunneling
<PRIVATE_KEY_FILE_PATH> with your private key path.
How do I test the Android demo without a physical device?
How do I test the Android demo without a physical device?
qualcomm/ai-hub-apps in Android Studio (Build → Build APK(s)) to produce a .apk.Pick a device
Configure the session
Upload the APK
.apk onto the device — the file must be uploaded before the session begins.Start and test
Python
How do I install Python on a Linux ARM64 device?
How do I install Python on a Linux ARM64 device?
python3 --version. If your device does not have Python, use one of the methods below.Option 1 — Miniconda (recommended; works on Yocto and Ubuntu ARM64)apt — use Miniconda above.Is Miniconda supported on Windows ARM64?
Is Miniconda supported on Windows ARM64?
Server / API
Is the local server OpenAI-compatible?
Is the local server OpenAI-compatible?
openai Python client at http://127.0.0.1:18181/v1 and reuse OpenAI code unchanged.Does geniex serve auto-download models?
Does geniex serve auto-download models?
geniex pull before starting the server.