> ## Documentation Index
> Fetch the complete documentation index at: https://geniex.aihub.qualcomm.com/llms.txt
> Use this file to discover all available pages before exploring further.
# 本地服务器
> 在 localhost 提供兼容 OpenAI 协议的 HTTP API,由骁龙 NPU/GPU/CPU 加速支撑。
GenieX 内置推理服务器,提供**兼容 OpenAI 协议的 API**。在设备端运行模型,并连接到任意支持 OpenAI 协议的应用或框架——例如 **LangChain** 等智能体框架、**OpenClaw** 等 AI 原生应用,或你自己的代码。无需云端依赖。
## **前置条件**
* 已安装 CLI——详见[安装](/cn/run/cli/install)。
* 容器内交互式 shell(仅 Docker)——详见[交互式运行](/cn/run/linux/install#交互式运行)。
* 已拉取模型。`geniex serve` **不会**自动下载模型。
## **启动服务器**
拉取模型:
```bash bash theme={"dark"}
geniex pull ai-hub-models/Qwen3-4B-Instruct-2507
```
启动服务器:
```bash bash theme={"dark"}
geniex serve
```
服务器默认运行在 `http://127.0.0.1:18181`。保持该终端开启,并在另一个终端中发送请求。运行 `geniex serve -h` 查看所有可配置选项。
## **POST /v1/chat/completions**
为给定对话创建模型响应。支持 LLM(纯文本)与 VLM(图像 + 文本)。
### **LLM 请求**
```json Example Value theme={"dark"}
{
"model": "ai-hub-models/Qwen3-4B-Instruct-2507",
"messages": [
{"role": "user", "content": "Hello! Briefly introduce yourself."}
],
"max_tokens": 256,
"temperature": 0.7,
"stream": false
}
```
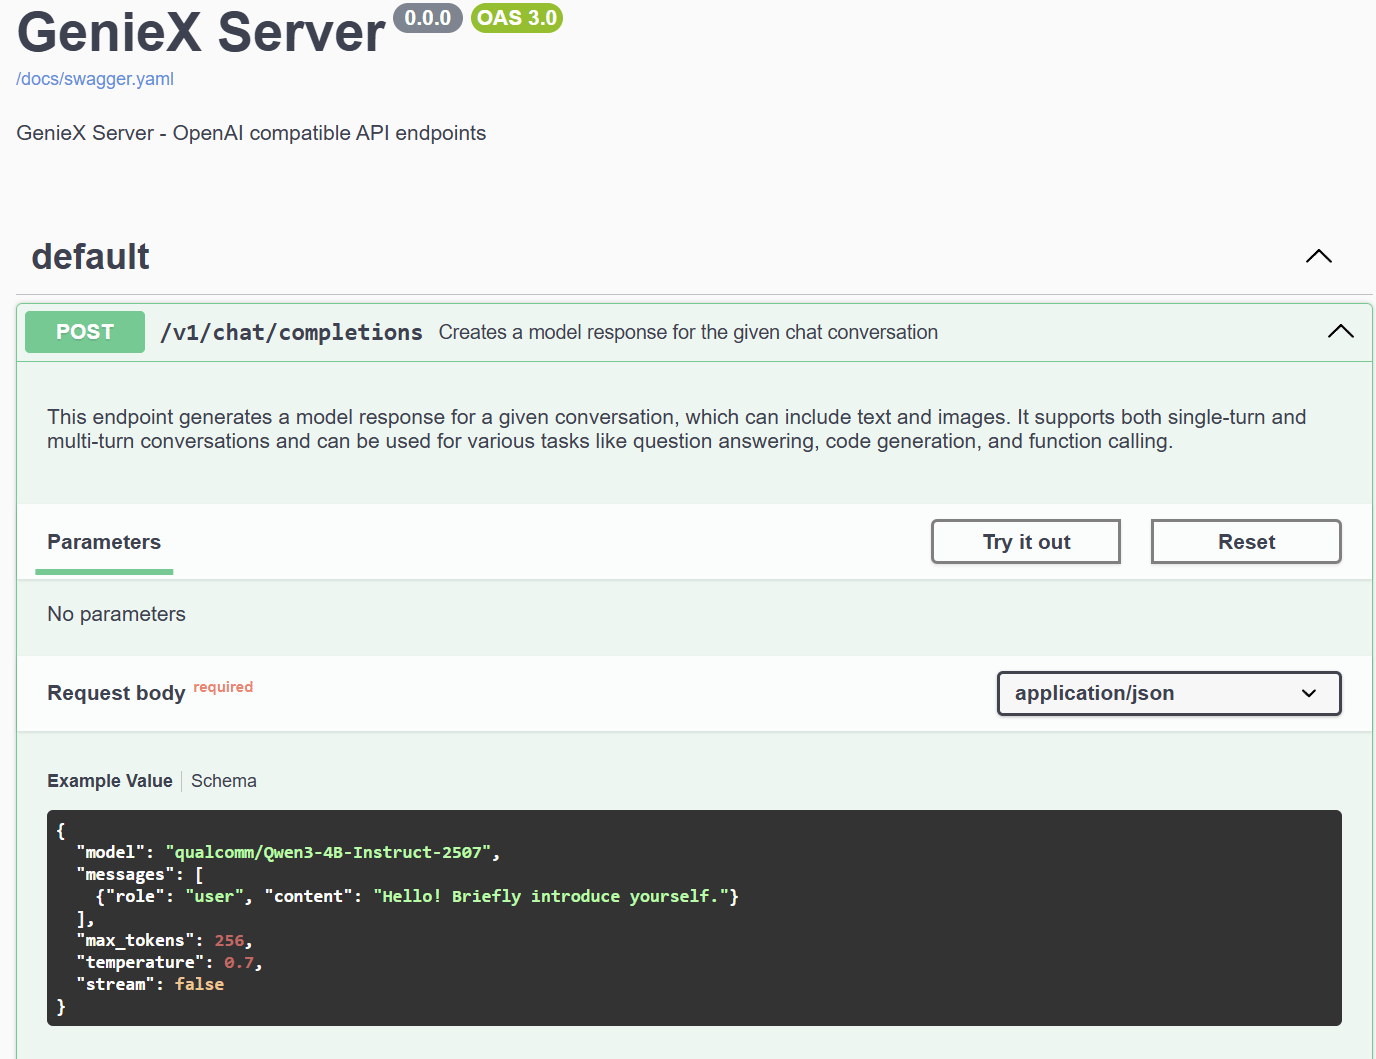
### **通过 Swagger UI 试用**
在浏览器中打开 `http://127.0.0.1:18181` 即可访问内置的 Swagger UI。
**步骤 1.** 展开 `POST/v1/chat/completions` 端点,查看示例请求体与 schema。
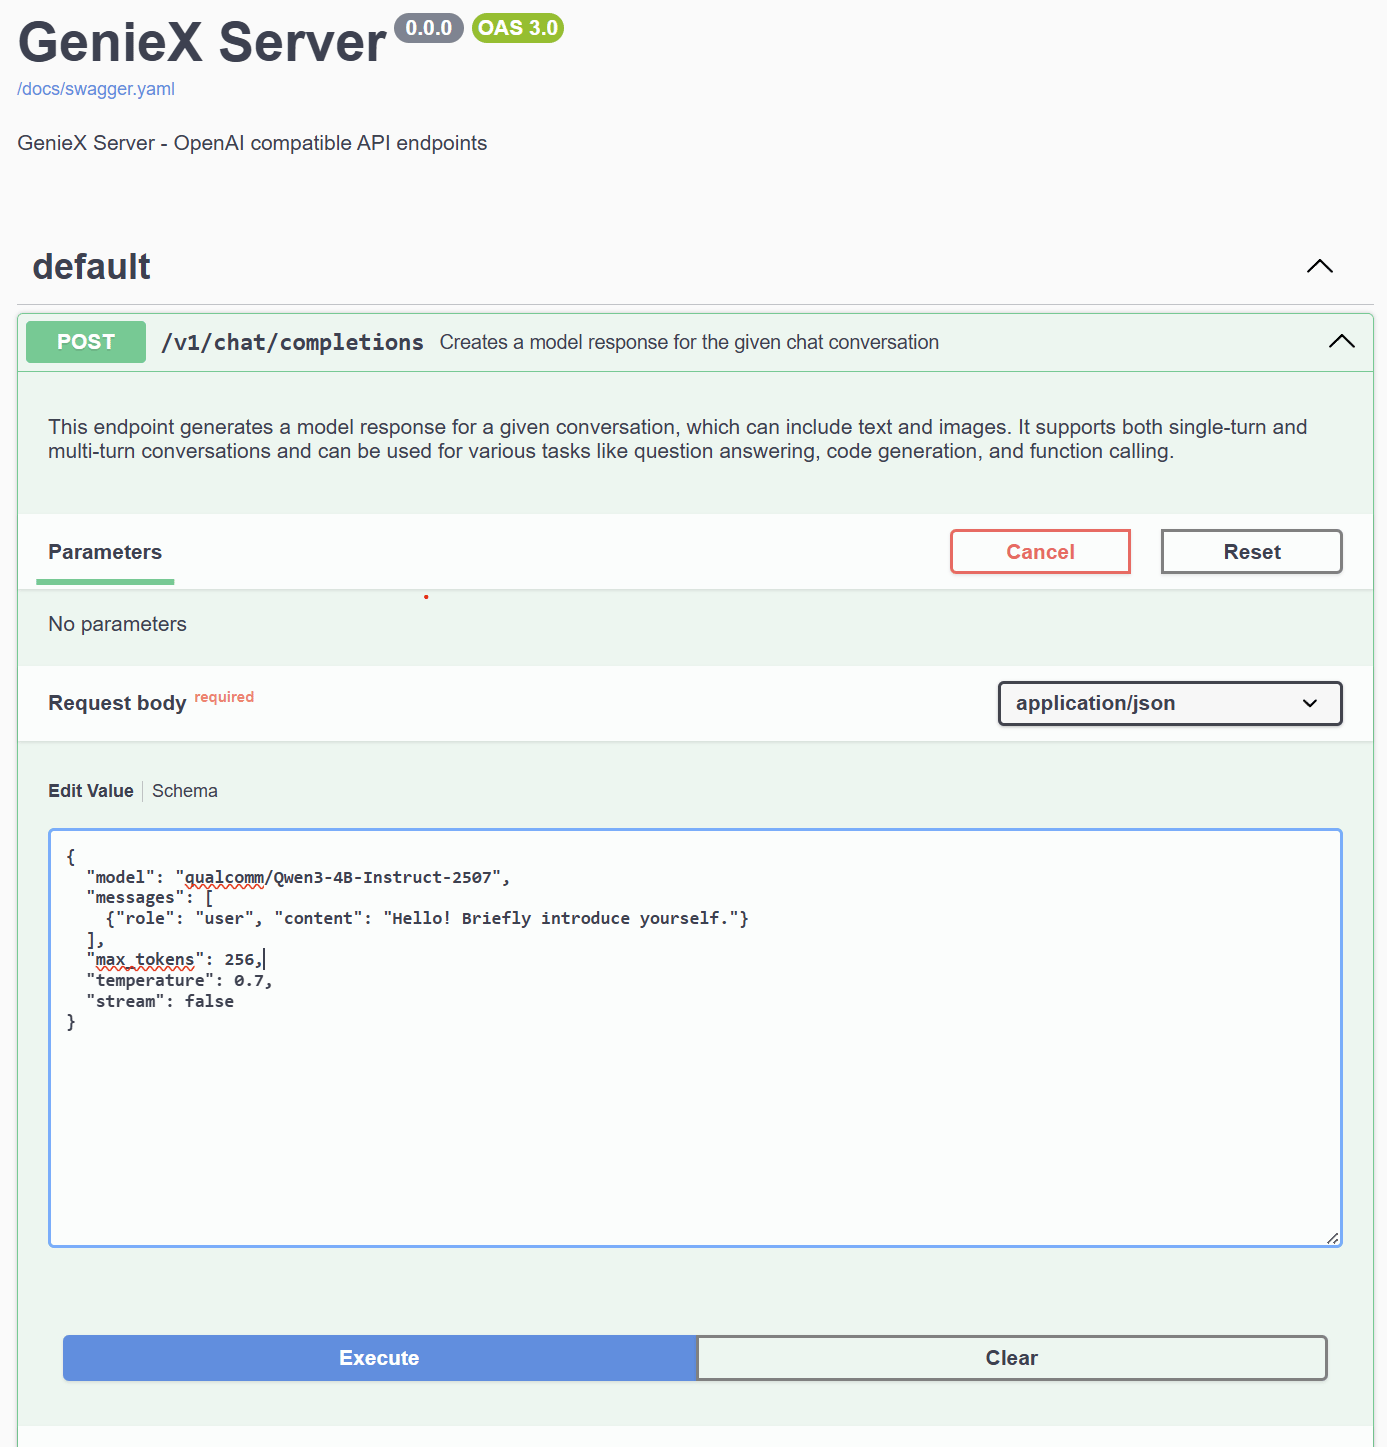
 **步骤 2.** 点击 **Try it out**,根据需要编辑请求体,然后点击 **Execute**。
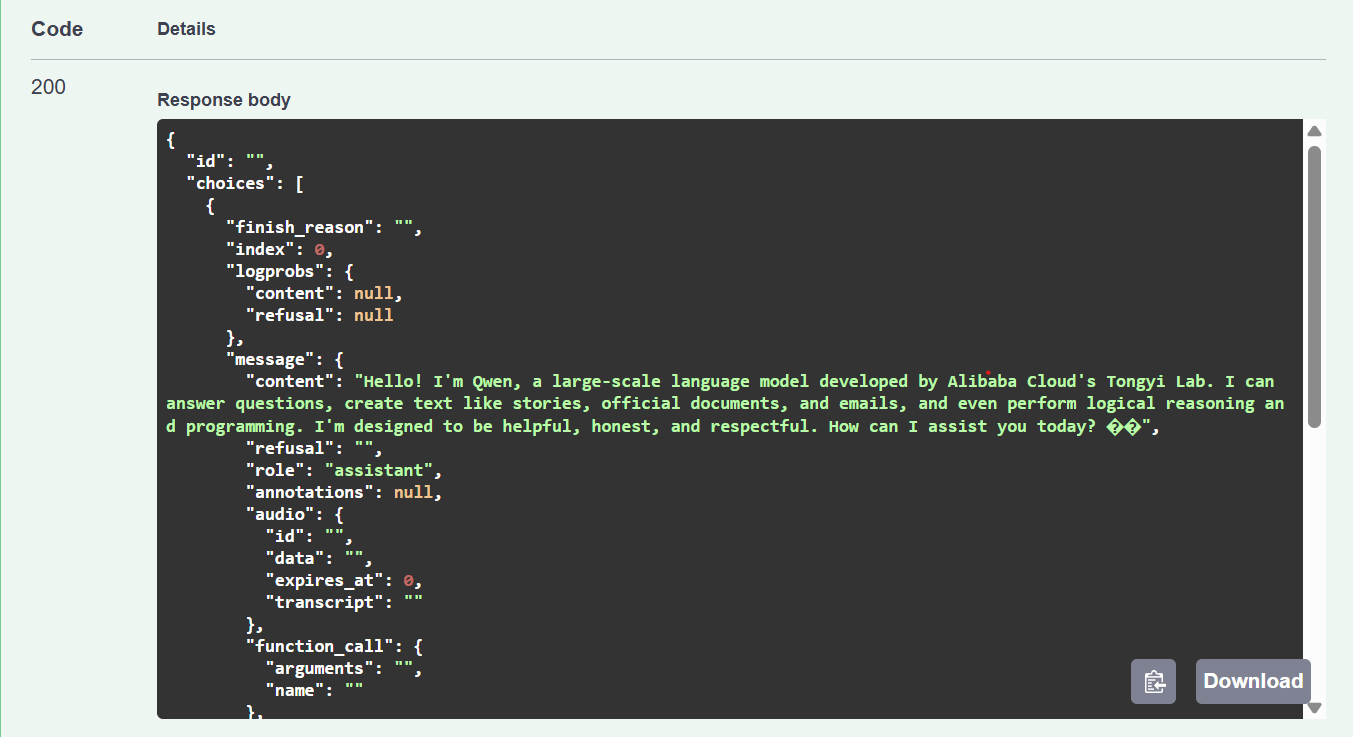
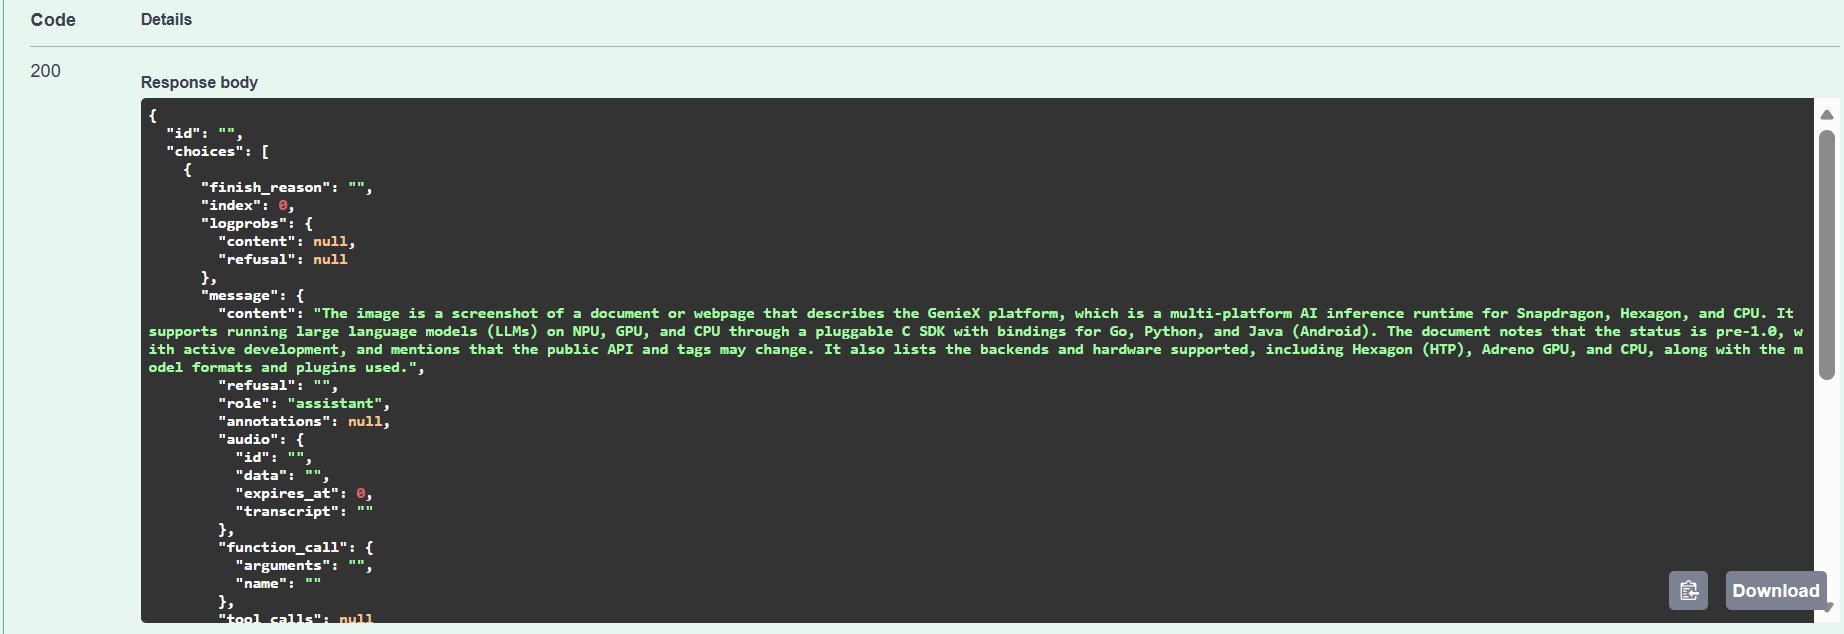
 **步骤 3.** 查看响应——`200` 状态码以及模型生成的回复。
 ### **VLM 请求**
`image_url.url` 支持三种格式:
| 格式 | 示例 |
| ------------------------ | -------------------------------------------------------------- |
| 本地文件路径(`file://` 前缀可选) | `C:/Users/Username/Pictures/photo.jpg`、`file:///tmp/photo.jpg` |
| HTTP / HTTPS URL——由服务器拉取 | `https://example.com/image.jpg` |
| Base64 data URL——内联图像字节 | `data:image/png;base64,iVBORw0KGgo...` |
**在 Docker 中运行?** 本地路径会在**容器内**解析,而不是主机。安装命令已经把 `$PWD/data` 挂载到 `/data`——把图片放进去,然后传 `/data/cat.jpg` 即可。或者直接用 HTTP URL 或 base64 data URL,绕过文件系统。
```json Example Value theme={"dark"}
{
"model": "ai-hub-models/Qwen2.5-VL-7B-Instruct",
"messages": [
{
"role": "user",
"content": [
{"type": "text", "text": "Describe this image succinctly."},
{"type": "image_url", "image_url": {"url": ""}}
]
}
]
}
```
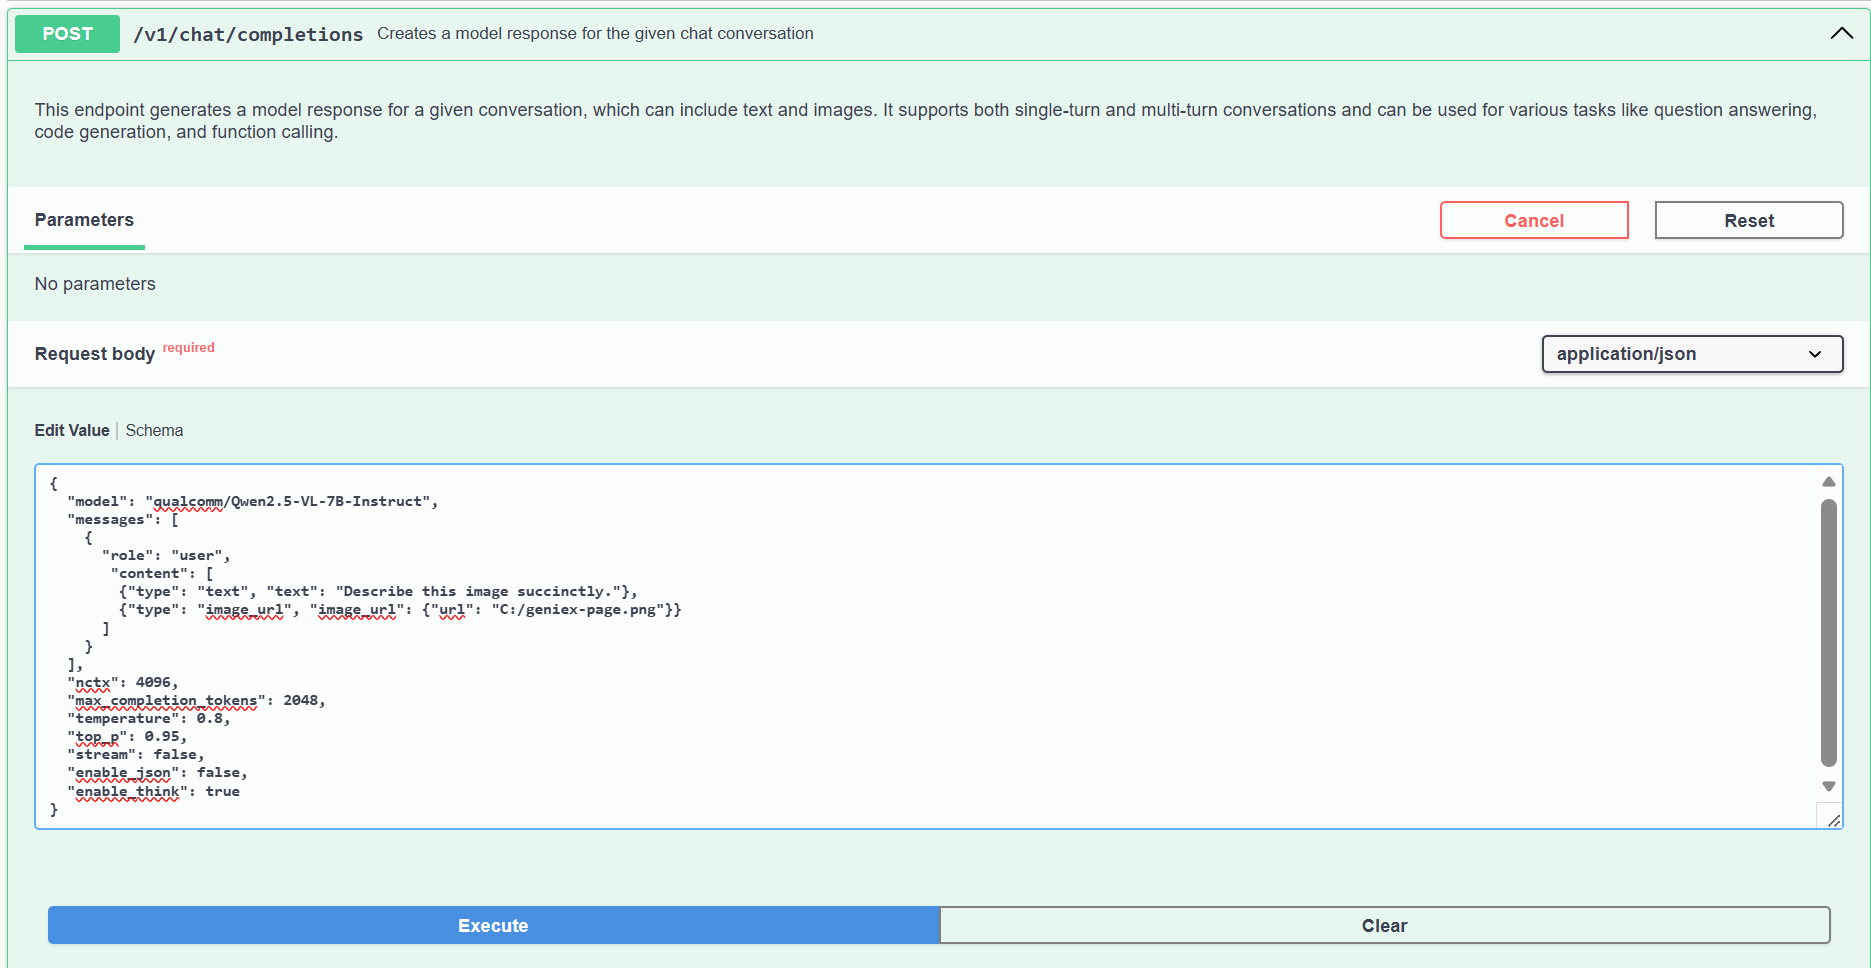
在 Swagger UI 中将请求体替换为上述 VLM payload,把 `image_url.url` 指向本地图片,然后点击 **Execute**。
### **VLM 请求**
`image_url.url` 支持三种格式:
| 格式 | 示例 |
| ------------------------ | -------------------------------------------------------------- |
| 本地文件路径(`file://` 前缀可选) | `C:/Users/Username/Pictures/photo.jpg`、`file:///tmp/photo.jpg` |
| HTTP / HTTPS URL——由服务器拉取 | `https://example.com/image.jpg` |
| Base64 data URL——内联图像字节 | `data:image/png;base64,iVBORw0KGgo...` |
**在 Docker 中运行?** 本地路径会在**容器内**解析,而不是主机。安装命令已经把 `$PWD/data` 挂载到 `/data`——把图片放进去,然后传 `/data/cat.jpg` 即可。或者直接用 HTTP URL 或 base64 data URL,绕过文件系统。
```json Example Value theme={"dark"}
{
"model": "ai-hub-models/Qwen2.5-VL-7B-Instruct",
"messages": [
{
"role": "user",
"content": [
{"type": "text", "text": "Describe this image succinctly."},
{"type": "image_url", "image_url": {"url": ""}}
]
}
]
}
```
在 Swagger UI 中将请求体替换为上述 VLM payload,把 `image_url.url` 指向本地图片,然后点击 **Execute**。
 ## **Python 客户端(OpenAI SDK)**
由于服务器使用 OpenAI 协议,可直接将官方 `openai` Python 客户端指向本地端点,复用任意已有的 OpenAI 代码。先通过 `pip install openai` 安装,然后:
```python python theme={"dark"}
from openai import OpenAI
client = OpenAI(
base_url="http://127.0.0.1:18181/v1",
api_key="geniex", # any non-empty string; the server does not check it
)
stream = client.chat.completions.create(
model="unsloth/Qwen3-4B-GGUF:Q4_0", # org/repo[:precision] — Q4_0 has the best Hexagon NPU support
messages=[
{"role": "user", "content": "Hello! Briefly introduce yourself."},
],
max_tokens=256,
temperature=0.7,
stream=True,
)
for chunk in stream:
delta = chunk.choices[0].delta.content
if delta:
print(delta, end="", flush=True)
print()
```
请将 `model` 替换为已经拉取的模型。可选的 `:` 后缀用于选择精度(量化)变体(例如 `Q4_0`、`Q4_K_M`、`Q8_0`),`Q4_0` 推荐用于 Hexagon NPU 上的 llama.cpp。详见[支持的精度(量化)](/cn/models/supported#支持的精度量化)。
## **其他端点**
* `GET /v1/models`——列出可用模型。
* `GET /v1/models/{model}`——查询指定模型的信息。
## **Python 客户端(OpenAI SDK)**
由于服务器使用 OpenAI 协议,可直接将官方 `openai` Python 客户端指向本地端点,复用任意已有的 OpenAI 代码。先通过 `pip install openai` 安装,然后:
```python python theme={"dark"}
from openai import OpenAI
client = OpenAI(
base_url="http://127.0.0.1:18181/v1",
api_key="geniex", # any non-empty string; the server does not check it
)
stream = client.chat.completions.create(
model="unsloth/Qwen3-4B-GGUF:Q4_0", # org/repo[:precision] — Q4_0 has the best Hexagon NPU support
messages=[
{"role": "user", "content": "Hello! Briefly introduce yourself."},
],
max_tokens=256,
temperature=0.7,
stream=True,
)
for chunk in stream:
delta = chunk.choices[0].delta.content
if delta:
print(delta, end="", flush=True)
print()
```
请将 `model` 替换为已经拉取的模型。可选的 `:` 后缀用于选择精度(量化)变体(例如 `Q4_0`、`Q4_K_M`、`Q8_0`),`Q4_0` 推荐用于 Hexagon NPU 上的 llama.cpp。详见[支持的精度(量化)](/cn/models/supported#支持的精度量化)。
## **其他端点**
* `GET /v1/models`——列出可用模型。
* `GET /v1/models/{model}`——查询指定模型的信息。